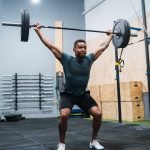
Looking to build your own gym without breaking the bank? You’re in the right place.
Creating gym equipment DIY-style lets you customize your workout space exactly how you want it. Imagine having gear that fits your routine perfectly, saves you money, and gives you a real sense of accomplishment. You’ll discover simple, effective ways to make your own gym tools at home.
Ready to turn your fitness goals into reality with gear you built yourself? Keep reading—you won’t want to miss these easy, budget-friendly ideas.
Choosing Materials
Choosing the right materials for your DIY gym equipment is crucial. The materials affect not only the look and feel but also the safety and durability of your setup. You want something that fits your budget, withstands heavy use, and feels solid when you work out.
Wood Vs Metal
Wood offers a warm, natural feel and is easier to work with if you have basic tools. It’s great for items like plyo boxes or simple weight racks. However, wood can wear down faster and might splinter if not properly treated.
Metal, on the other hand, is incredibly strong and long-lasting. Steel frames can handle heavy weights and intense workouts without bending or breaking. But metal requires welding skills or specialized tools, which may not be in your arsenal.
Think about your comfort level with tools and the type of equipment you want to build. Would you rather sand and stain wood, or weld and paint metal? Your choice influences the entire project.
Recycled Materials
Using recycled materials can save money and add character to your gym. Old pallets, scrap metal, or leftover construction materials can often be repurposed effectively. I once built a sturdy kettlebell stand from scrap wood and metal pipes, which turned out both functional and budget-friendly.
Check local recycling centers or construction sites for free or cheap supplies. However, make sure the materials are safe and not damaged beyond repair. Safety should always come first when building gym gear.
Cost And Durability
Balancing cost and durability is key. Cheaper materials might save money upfront but could wear out quickly or compromise safety. Investing a bit more in quality materials often pays off with longer-lasting equipment.
Write down your budget and compare prices for wood, metal, and recycled options. Consider how much weight and stress your equipment needs to handle. What’s the point of saving money if you have to rebuild next month?
Essential Tools
Basic tools like a drill, saw, and measuring tape are key for building gym equipment at home. Quality materials and safety gear ensure strong, reliable workout gear.
Creating your own gym equipment at home can be both rewarding and cost-effective. To get started, it’s crucial to have the right tools at your disposal. Whether you’re building a simple weight rack or a more complex piece of equipment, having essential tools will make the process smoother and safer. Let’s dive into the core tools you’ll need for your DIY gym equipment journey.Basic Hand Tools
These are the backbone of any DIY project. A reliable set of screwdrivers, a sturdy hammer, and a versatile wrench set are non-negotiable. They allow you to assemble and disassemble parts with ease. A tape measure is another must-have. Accurate measurements ensure your equipment is safe and functional. You wouldn’t want a bench that wobbles because of uneven legs, right?Power Tools
Power tools can significantly speed up your project and improve precision. A power drill is indispensable for making holes and driving screws quickly and efficiently. A saw—preferably a circular saw—will help you cut wood or metal parts to the correct size. Imagine crafting a perfectly smooth bench press board without the hassle of manual sawing.Safety Gear
Safety should never be an afterthought. Investing in good-quality safety gear can prevent accidents. Always wear safety goggles to protect your eyes from flying debris when cutting or drilling. Gloves are essential to protect your hands from sharp edges and splinters. And don’t forget about ear protection if you’re using loud power tools—your hearing is invaluable. Consider this: Would you rather spend a little extra on safety gear now or risk an injury that could cost you more later? Prioritizing safety not only shields you from harm but also ensures you can enjoy your DIY creations for years to come.Diy Dumbbells
Creating your own dumbbells at home can save money and customize your workout to fit your needs. DIY dumbbells let you control weight, shape, and materials, making your fitness routine more flexible. You don’t need fancy tools—just a bit of creativity and basic supplies.
Using Concrete And Pvc
Concrete and PVC pipes make a sturdy and affordable combo for DIY dumbbells. Start by cutting PVC pipes to your desired handle length. Then, mix concrete and pour it into molds shaped like weights or use buckets to form the dumbbell ends.
After the concrete dries, attach the weight ends to the PVC handle securely. You can drill holes and use screws or strong adhesive to keep everything tight. This setup feels solid and works well for most exercises.
Adjustable Weight Options
Want to change your dumbbell weight on the fly? Try making adjustable weights using threaded rods or metal pipes. Slide on washers, nuts, or homemade concrete discs to add or remove weight quickly.
This flexibility lets you start light and increase resistance as you get stronger. Have you ever wished you could switch weights without buying new dumbbells? This method answers that need perfectly.
Finishing Touches
Don’t skip the finishing touches—they make your dumbbells safer and more comfortable. Wrap the handles with grip tape or foam to avoid slipping and reduce hand fatigue.
Seal the concrete with waterproof paint to prevent cracking and improve durability. These small steps keep your homemade dumbbells looking good and working well for a long time.
Building A Pull-up Bar
Building a pull-up bar at home offers a simple way to boost your fitness routine. It requires basic tools and materials, making it a practical DIY project. A sturdy pull-up bar supports various exercises that strengthen your upper body. Planning the right spot and materials ensures safety and long-term use.
Choosing The Right Location
Select a strong wall or ceiling beam to hold the bar. The area should have enough space around it for free movement. Avoid places near fragile items or where children often play. Ensure the height fits your reach and allows a full pull-up motion.
Material Selection
Use metal pipes or heavy-duty steel for the bar. Wood can work but must be thick and strong. Choose rust-resistant materials for outdoor bars. Pick mounting brackets that match the bar’s size and weight capacity.
Installation Tips
- Find wall studs or ceiling joists with a stud finder.
- Drill pilot holes before screwing in brackets.
- Use heavy-duty screws and anchors for secure mounting.
- Check the bar for stability before use.
- Test the bar with light weight to ensure safety.
Homemade Weight Bench
Building your own weight bench can be a rewarding project that saves money and fits your specific workout needs. A homemade weight bench allows you to customize size, materials, and features to suit your space and training style. But to get the best results, you need to focus on smart design, comfortable padding, and solid safety measures.
Design Options
Think about how you plan to use your bench. Will it be flat, adjustable, or incline? Adjustable benches offer more exercise variety but require more complex hinges and supports.
Choose sturdy materials like hardwood or metal for the frame. You can also combine wood for the base and metal brackets for extra strength. Planning the dimensions is key—make sure the bench height and length suit your height and the exercises you perform.
Would you prefer a bench that folds for easy storage? Adding folding hinges can save space but make sure they lock securely to avoid wobbling during workouts.
Padding And Upholstery
Comfort affects how long you can train and how well you perform exercises. Use high-density foam that won’t compress too much under weight. Thicker foam cushions your back and buttocks better during pressing movements.
Cover the foam with durable, sweat-resistant vinyl or leather-like material. This keeps the bench easy to clean and prevents tearing over time. You might find upholstery kits at craft stores that include staple guns, fabric, and foam.
Have you tested how different foam thickness feels during your workout? Sometimes adding a thin layer of memory foam on top can improve comfort without raising the bench height too much.
Stability And Safety
Your bench must hold your weight plus the weights you lift without shaking. Use wide legs or a base with rubber feet to prevent slipping and protect your floor. Cross braces or diagonal supports increase rigidity.
Make sure all bolts and screws are tightened firmly and check them regularly. Loose hardware can cause dangerous instability during exercises like bench presses.
Consider weight capacity carefully. Designing for at least 300-400 pounds is a good safety margin for most users. Can your homemade bench handle more than your maximum lifting weight? If not, strengthen the frame or use thicker materials.

Credit: www.reddit.com
Resistance Bands Alternatives
Resistance bands are popular for home workouts. They offer great muscle resistance without heavy weights. Many people want similar tools made at home. There are simple, cheap materials that work well as alternatives. These options fit many workout needs and budgets. Understanding how to use these materials is key to safe and effective exercise.
Using Inner Tubes
Old inner tubes from bicycles or cars make good resistance bands. They stretch and provide tension like regular bands. Cut tubes into strips for different sizes and strengths. They are durable and can hold heavy tension. Inner tubes are easy to find and recycle. Make sure to check for holes or weak spots before use.
Tension Levels
Tension matters for workout safety and effectiveness. Thicker or shorter tubes give more resistance. Thin, long tubes offer lighter tension. Test the stretch before starting exercises. Adjust tension by changing tube length or thickness. Use multiple tubes together for higher resistance. Keep tension even to avoid injury.
Attachment Methods
Proper attachment helps in using inner tubes safely. Tie strong knots or use metal clips to secure ends. Attach tubes to sturdy objects like poles or furniture legs. Use handles made from wood or plastic for better grip. Check attachments before each use to avoid accidents. Keep attachments flexible to allow free movement during workouts.
Storage Solutions
Keeping your DIY gym equipment organized is key to maintaining a clean and efficient workout space. Storage solutions not only save space but also protect your gear from damage and keep your area safe. Let’s look at some smart ways to store your equipment so you can focus on your fitness without the clutter.
Organizing Equipment
Start by grouping similar items together. Dumbbells, resistance bands, and kettlebells each deserve their own dedicated spot. Use shelves, hooks, or bins to keep everything visible and easy to reach.
I once struggled with cluttered weights scattered all over my garage gym. Adding a simple rack made a huge difference in how quickly I could grab what I needed and put it away afterward. Could your workout flow improve with better organization?
Space-saving Ideas
Vertical storage is a game changer for small spaces. Wall-mounted racks or pegboards can hold weights, jump ropes, and even mats without taking up floor space. Folding benches or stackable equipment also help maximize your room.
Think about unused corners or walls that could hold your gear instead of crowding your floor. What small change could free up the most space in your gym?
Safety Considerations
Proper storage reduces the risk of accidents like tripping or dropping heavy items. Make sure all equipment is stable and secure, especially when using wall hooks or shelves. Avoid stacking too high to prevent items from falling.
Check your storage setup regularly to ensure nothing has loosened or shifted. How often do you inspect your gym for potential hazards?
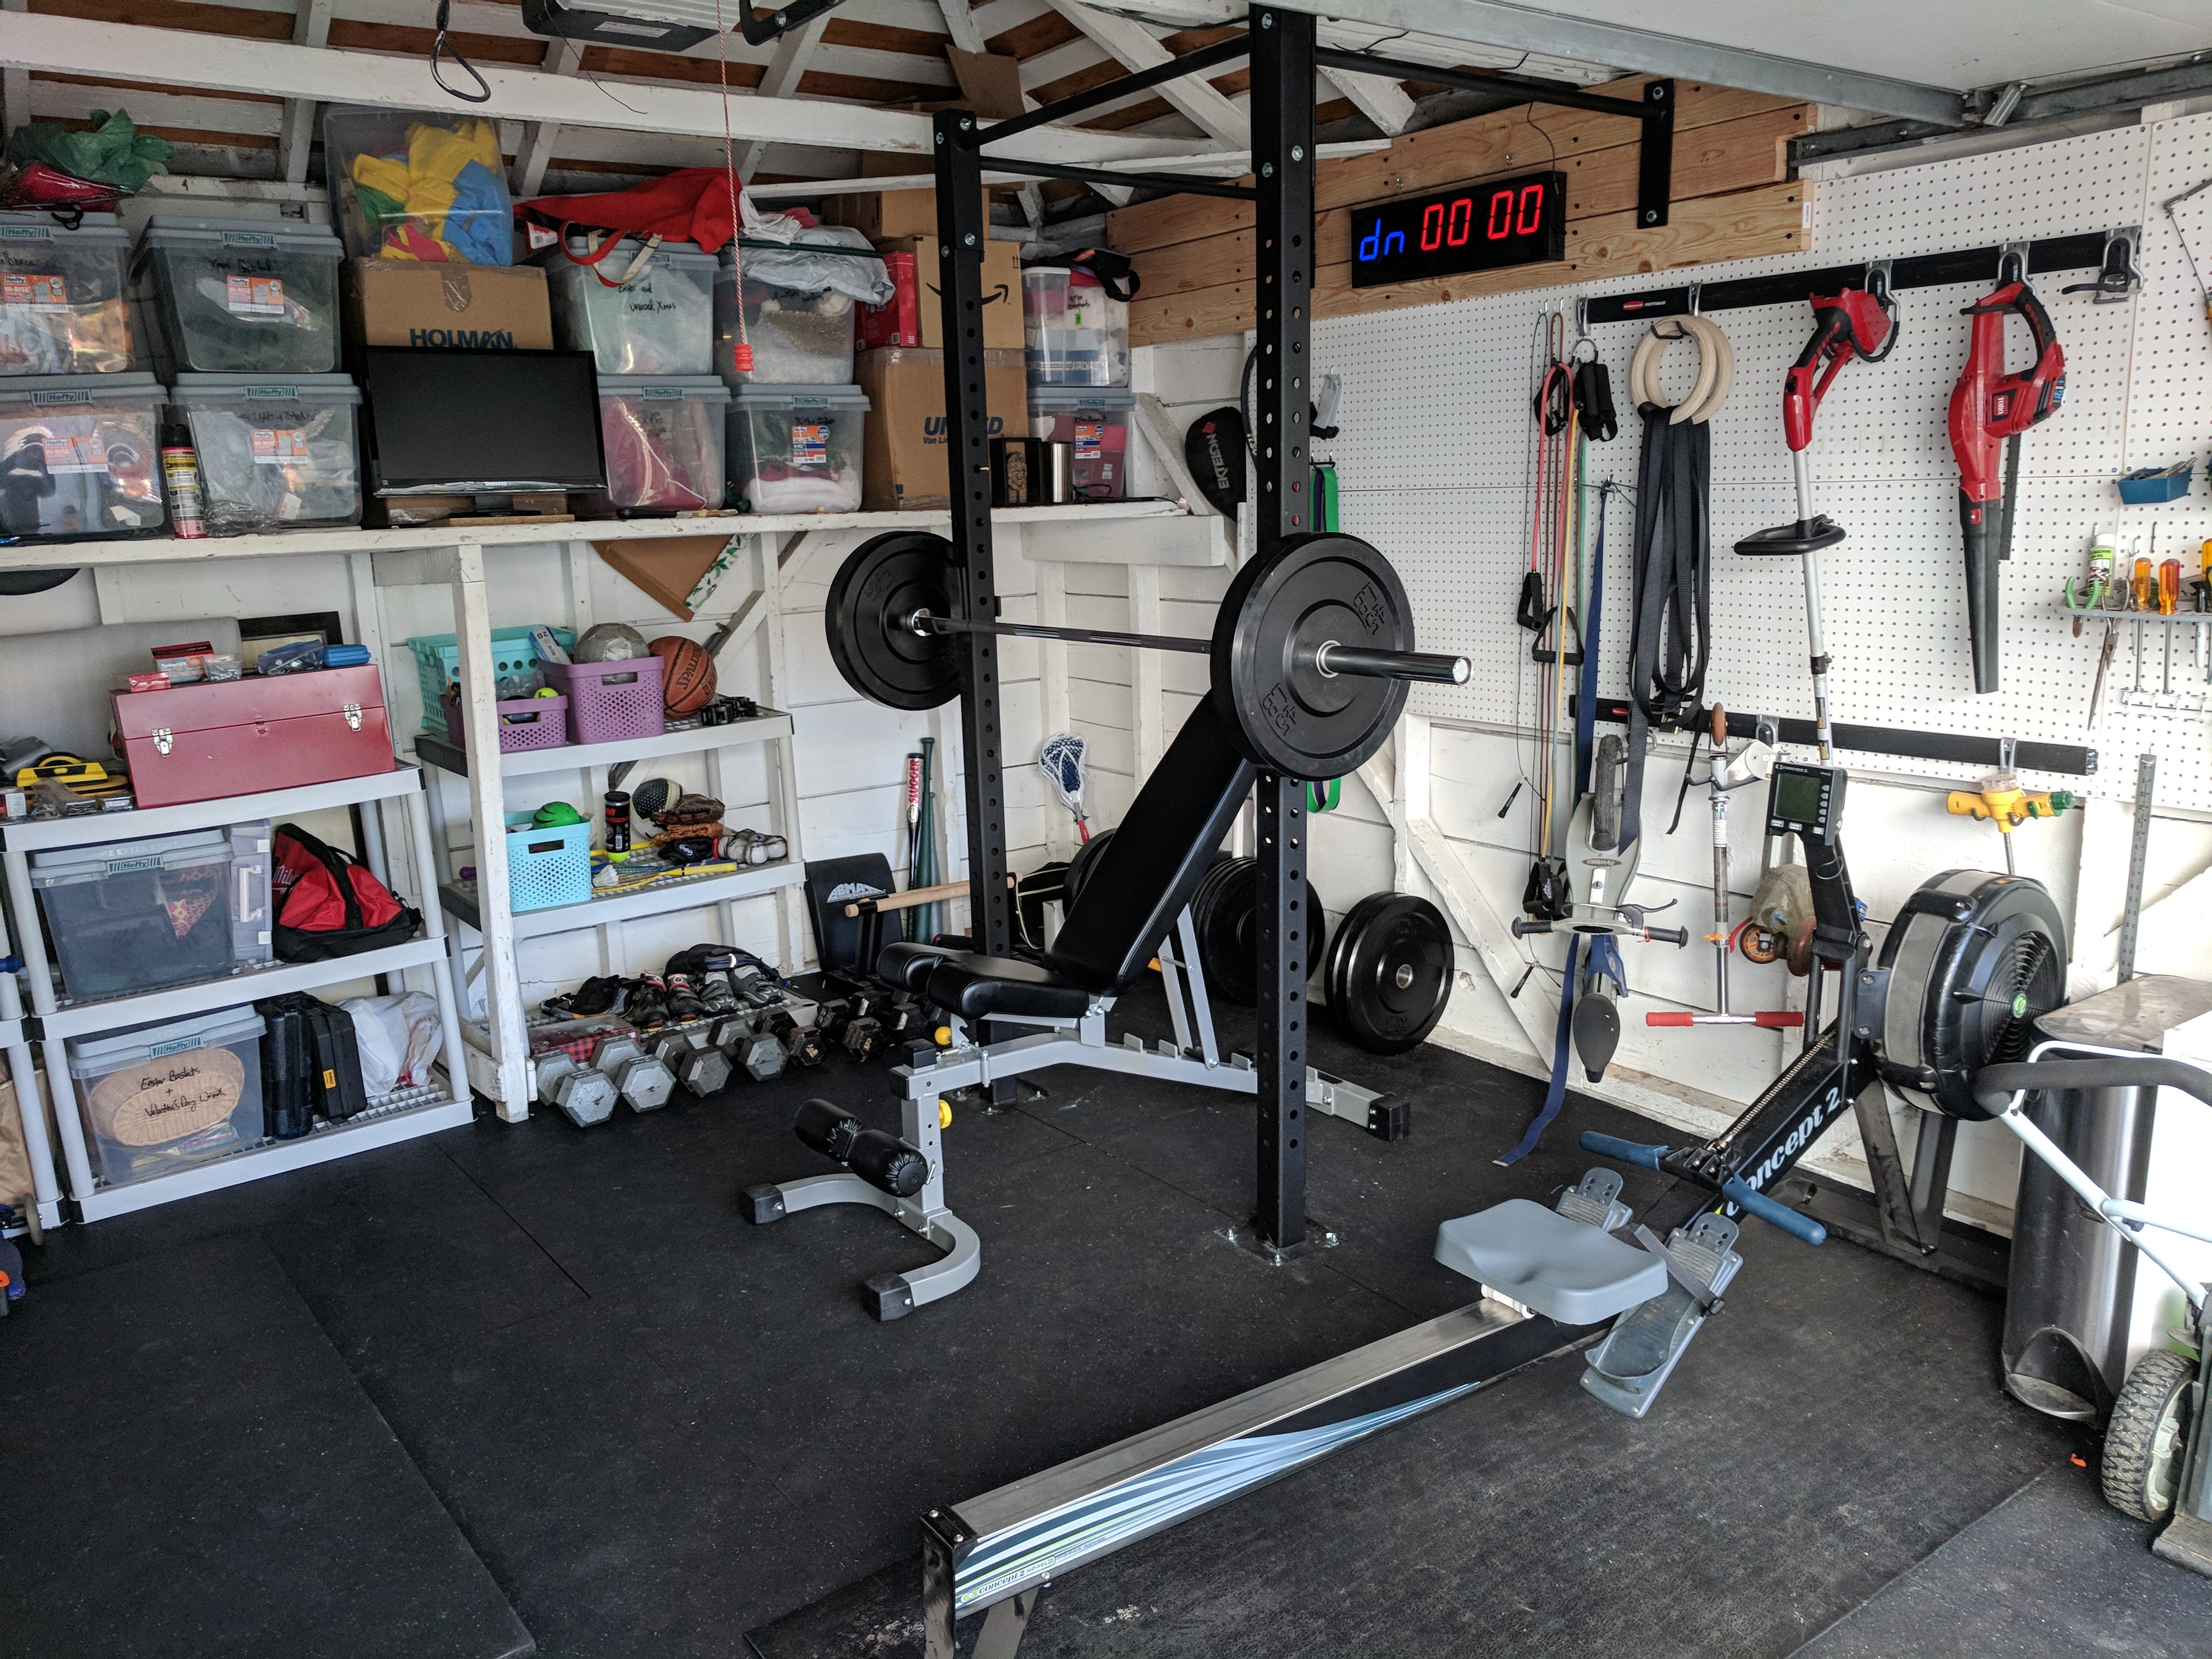
Credit: realendpoints.com
Maintenance Tips
Keeping your DIY gym equipment in top shape is essential for safety and effectiveness. Regular maintenance prevents unexpected breakdowns and extends the life of your gear. Let’s explore simple ways you can care for your homemade workout tools.
Cleaning Diy Gear
Start by wiping down your equipment after every use to remove sweat and dust. Use a mild soap solution and a soft cloth to avoid damaging materials like wood or metal.
For padded areas, a gentle disinfectant spray keeps germs at bay without harming the fabric. Avoid harsh chemicals that can break down coatings or paint.
Have you noticed how dust buildup can affect moving parts? Keeping those clean ensures smoother operation and less strain on joints and cables.
Inspecting For Wear
Regularly check bolts, screws, and joints for looseness or rust. Tighten or replace parts immediately to avoid accidents.
Look over cables, ropes, and straps for fraying or cracks. These small issues can quickly become dangerous if ignored.
Ask yourself: Does your equipment feel stable and secure? If not, it’s time for a thorough inspection before your next workout.
Repair Techniques
For wooden parts, sand down rough spots and apply a fresh coat of sealant or paint to protect against moisture. This also keeps your equipment looking fresh.
Use strong adhesive or epoxy to fix minor cracks or breaks in plastic or composite materials. Clamps can hold parts together while drying.
If a cable or strap is damaged, replace it with a similar, high-quality piece instead of trying to patch it. Safety matters more than saving a few dollars.
Have you ever repaired your own gear and felt a sense of pride? It’s not just about saving money—it’s about knowing your equipment is safe and ready for your next session.

Credit: www.reddit.com
Frequently Asked Questions
What Basic Tools Do I Need For Diy Gym Equipment?
You need a drill, saw, measuring tape, screws, and safety gear. These tools help you cut, assemble, and secure materials effectively. Having quality tools ensures your DIY gym equipment is sturdy and safe for workouts.
Which Materials Are Best For Homemade Gym Equipment?
Wood, metal pipes, and sturdy ropes are ideal materials. They offer durability and support for various exercises. Choose materials based on the equipment type and your budget to ensure safety and longevity.
How Can I Ensure Safety In Diy Gym Equipment?
Use strong, durable materials and follow assembly instructions carefully. Test equipment before use and regularly check for wear or damage. Proper safety measures prevent injuries and extend the life of your DIY gym gear.
What Are Some Easy Diy Gym Equipment Projects?
Start with simple items like wooden plyometric boxes or resistance bands. These projects require minimal tools and materials. They help build a functional home gym without complex construction or high costs.
Conclusion
Building your own gym equipment saves money and fits your space well. You can choose materials that are easy to find and use. Making equipment yourself helps you learn about fitness tools. It also gives a sense of pride and achievement.
Start small and add more pieces as you go. Stay safe and follow clear instructions for best results. Enjoy your workouts with equipment you made by hand. Simple steps lead to a strong, personal gym setup.