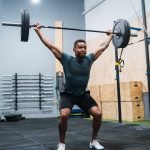
Are you tired of expensive gym memberships that don’t fit your schedule? Imagine having your own gym equipment right at home, built exactly the way you want it.
Building gym equipment yourself is easier than you think. It saves money, gives you control over quality, and lets you customize your workout space. You’ll discover simple steps and smart tips to create your perfect gym setup. Keep reading, and take the first step toward a stronger, healthier you—without breaking the bank.
Choosing Materials
Choosing the right materials for building gym equipment can make all the difference in durability, safety, and cost. Your selection impacts not just how the equipment looks but also how it performs under pressure. Let’s break down some key factors that can guide your choice effectively.
Wood Vs Metal
Wood offers a warm, natural feel and can be easier to work with if you have basic tools. It’s great for items like plyometric boxes or balance boards where a bit of give is acceptable. However, wood may wear faster and can splinter if not treated properly.
Metal, on the other hand, provides superior strength and longevity. Steel frames for squat racks or pull-up bars handle heavy weights without bending. It’s more resistant to wear but often requires welding skills and protective coatings to avoid rust.
Ask yourself: do you prioritize ease of crafting or long-term toughness? Your answer will steer you toward either wood or metal.
Cost-effective Options
Building gym equipment doesn’t have to break the bank. Consider using recycled materials like old steel pipes or leftover wood pallets, which can significantly reduce expenses. Buying raw materials in bulk often lowers the price per unit as well.
Look for local suppliers to cut down on shipping costs. Sometimes, investing a bit more upfront in quality materials saves money later by avoiding frequent repairs or replacements.
What’s your budget limit? Knowing this helps you balance cost with durability right from the start.
Safety Considerations
Safety should never be an afterthought. Choose materials that won’t easily crack, bend, or break under stress. For example, metal joints must be welded or bolted securely, and wooden parts should be sanded smooth to prevent splinters.
Non-toxic finishes and coatings are essential to avoid harmful fumes or skin irritations. Also, test the equipment thoroughly before regular use to catch any weak points early.
How will you ensure your equipment stays safe during intense workouts? Planning for safety reduces risks and keeps your progress on track.
Credit: www.patrickafinn.com
Essential Tools
Basic tools like wrenches, drills, and measuring tapes help build sturdy gym equipment. Choosing strong materials ensures safety and durability during workouts.
Building your own gym equipment can be an exciting project. It requires the right set of tools to ensure success. Whether you’re crafting a sturdy squat rack or a simple weight bench, having the correct tools is essential. Let’s explore the tools you’ll need.Basic Hand Tools
Basic hand tools are indispensable in building gym equipment. Start with a tape measure for precise measurements. A set of wrenches and screwdrivers is crucial for assembling parts. Use a hammer for joining and securing components. A set of pliers will help with gripping and bending tasks. Keep these tools in your toolbox for easy access.Power Tools Needed
Power tools make the job faster and more efficient. A drill is vital for making holes and driving screws. A saw is essential for cutting materials to the correct size. Consider a jigsaw for curved cuts. Use a sander to smooth edges and surfaces. These tools save time and effort.Safety Gear For Building
Safety gear protects you during construction. Wear safety goggles to shield your eyes from debris. Use gloves to protect your hands from sharp objects. Wear a dust mask to avoid inhaling dust and particles. Ensure your workspace is well-lit to prevent accidents. Always prioritize safety when building gym equipment.Diy Dumbbells
Creating your own dumbbells at home can be a rewarding project that saves money and customizes your workout gear. DIY dumbbells let you control the weight, size, and design to suit your fitness goals perfectly. You don’t need fancy tools or materials—just a bit of creativity and some basic supplies.
Using Concrete And Pvc
Concrete and PVC pipes make a solid combination for DIY dumbbells. You start by filling PVC pipes with concrete, which hardens into a strong, durable weight. The pipe acts as the handle, so choose a diameter that feels comfortable in your hand.
Once the concrete sets, you can seal the ends of the pipes with caps or sturdy tape to keep everything in place. This method is affordable and easy to adjust by changing the amount of concrete you pour. Have you ever thought about how simple materials can turn into effective workout tools?
Adjustable Weight Ideas
Adjustable dumbbells give you flexibility for different exercises and strength levels. Try using removable containers filled with sand, gravel, or metal nuts on each end of a sturdy rod or pipe. You can add or remove these fillings to increase or decrease the weight.
Another idea is to use screw-on collars or clamps to secure the weights tightly. This makes switching weights quick and safe. Wouldn’t it be great to have gym equipment that grows with your progress?
Finishing Touches
Finishing your DIY dumbbells properly enhances comfort and durability. Wrap the handles with grip tape or foam to prevent slipping and protect your hands during workouts. Painting the weights can help protect the concrete from moisture and add a personal touch.
Make sure all parts are securely fastened and smooth out any rough edges. A well-finished dumbbell feels professional and encourages you to stick with your routine. How does the idea of crafting your own gym gear change your view on home workouts?

Credit: dsarchitecture.com.au
Building A Weight Bench
Building a weight bench can enhance your home gym experience. It offers a sturdy platform for various exercises. Creating your own bench saves money and lets you customize it. Focus on design, assembly, and comfort to build a durable bench.
Design Options
Choose a flat or adjustable bench design. Flat benches are simple and stable. Adjustable benches allow incline or decline positions. Consider space and workout needs before selecting a style.
- Flat bench: basic and strong
- Adjustable bench: versatile for different exercises
- Materials: wood, metal, or combination
- Weight capacity: match your lifting goals
Step-by-step Assembly
Start by cutting wood or metal to size. Build the frame using strong joints or welds. Attach legs securely for balance and support. Add hinges for adjustable models. Double-check all connections for safety.
- Prepare all materials and tools
- Construct the bench frame
- Install legs and supports
- Add adjustment mechanisms if needed
- Test stability and weight capacity
Cushioning And Covering
Choose dense foam for comfortable cushioning. Cut foam to fit the bench size precisely. Cover foam with durable, easy-to-clean material. Use staples or adhesive for a tight fit. A good cover protects the foam and improves grip.
- High-density foam for firm support
- Vinyl or leather covers for durability
- Water-resistant and easy to clean materials
- Secure edges to avoid wrinkles or movement
Constructing Pull-up Bars
Constructing a pull-up bar is a smart project that can elevate your home gym and boost your workout routine. Whether you have limited space or plenty of room, there are different designs to fit your needs. Let’s look at some practical options and how to make sure your pull-up bar stays safe and solid.
Wall-mounted Designs
Wall-mounted pull-up bars save floor space and are great for small gyms or home setups. You can attach the bar directly to sturdy wall studs or concrete for maximum support. Make sure you use heavy-duty bolts and check the wall’s strength before drilling.
One tip: use a stud finder to locate the best mounting points. A friend once installed a bar on drywall alone and it pulled out quickly—don’t let this happen to you. Adding a backplate can spread the load and prevent damage.
Free-standing Frames
If wall mounting isn’t an option, free-standing pull-up bars offer flexibility. You can move them around and place them outdoors or in a garage. A well-built frame usually consists of metal pipes or wood beams bolted together.
Think about height and width before building. You want enough clearance for different grip styles and body sizes. Adding crossbars or angled supports can increase strength and prevent wobbling.
Ensuring Stability
Stability is key for safety and performance. Whether wall-mounted or free-standing, your pull-up bar should feel rock solid. Test it by applying force in different directions before trusting it with your body weight.
- Use level tools to make sure the bar is perfectly horizontal.
- Double-check all bolts and joints for tightness.
- Consider anchoring free-standing frames to the floor or wall for extra security.
Have you ever felt unsure about a home-built pull-up bar? Taking these steps can give you confidence and keep your workouts injury-free. What’s stopping you from building your own bar today?
Homemade Kettlebells
Homemade kettlebells offer a budget-friendly way to add strength training to your workout. Creating your own kettlebell allows customization of weight and size. It also ensures you have a tool that fits your training needs perfectly. Crafting kettlebells at home requires careful planning and the right materials to ensure durability and safety. Below are key points to consider when building your kettlebells.
Materials And Molds
Choosing the right materials is essential for sturdy kettlebells. Concrete is a popular choice for the weight part due to its affordability and ease of use. You will need a mold to shape the concrete. Common molds include old plastic containers, buckets, or custom-made wooden frames. For the handle, strong metal pipes or thick plastic handles work well. Ensure the mold is smooth inside to avoid rough surfaces on the kettlebell.
Weight Adjustments
Adjusting the weight of homemade kettlebells is simple with concrete. Add more cement mix to increase weight. Use lightweight fillers like foam or plastic bottles inside the mold to reduce weight. Weigh the concrete mix before pouring to control final weight. Adding metal pieces like screws or small weights can fine-tune the heaviness. Mark the weight clearly on the kettlebell for easy identification.
Safety Coating
Safety coating protects your kettlebell and your hands. Apply a layer of waterproof paint or sealant over the concrete surface. This prevents cracks and water damage over time. Use sandpaper to smooth rough edges before coating. For the handle, wrap with grip tape or rubber for comfort and slip resistance. Regularly check the coating and reapply when needed to maintain safety.
Storage Solutions
Proper storage solutions keep your gym safe and tidy. They protect your equipment and save space. Well-organized gear helps you find items quickly. It also prevents accidents from cluttered floors. Small and large items need different storage approaches. Smart planning makes your workout area efficient and inviting.
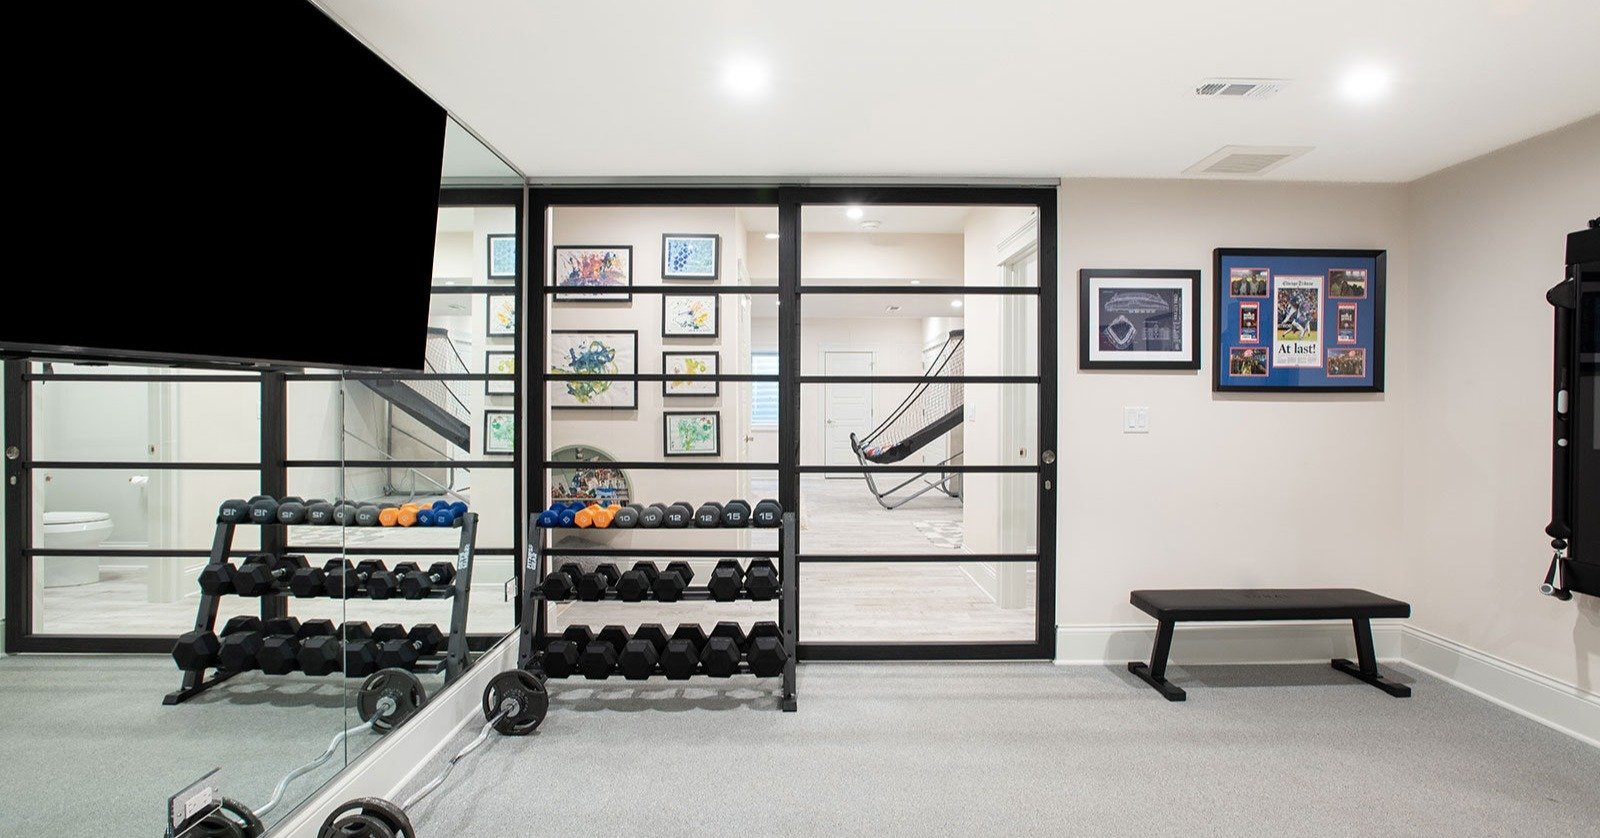
Racks For Dumbbells
Dumbbells need sturdy racks to stay off the floor. Racks keep weights sorted by size and weight. This organization prevents damage and makes lifting easier. Choose racks that fit your space and weight range. Metal racks offer strong support and long life. Wooden racks can add a warm, stylish touch.
Organizing Small Gear
Small gym items like bands, gloves, and jump ropes need dedicated places. Use bins or baskets for loose items to avoid mess. Wall hooks can hold ropes and straps neatly. Clear containers help you see contents at a glance. Labeling bins speeds up finding gear before workouts.
Space-saving Tips
- Use vertical storage to free floor space.
- Stackable bins maximize storage in small areas.
- Foldable equipment can be stored away easily.
- Mount shelves on walls to hold light items.
- Multi-use furniture doubles as storage and seating.
Efficient storage creates room for movement and new equipment. Planning storage improves gym safety and workout flow.

Credit: www.youtube.com
Maintenance Tips
Maintaining gym equipment is key to keeping workouts safe and effective. Regular care helps extend the life of your gear. Small habits prevent big problems and costly repairs. Pay attention to cleaning, wear checks, and fixing issues promptly. These steps ensure your equipment performs well every time.
Cleaning Diy Equipment
Wipe down machines after each use to remove sweat and dirt. Use mild soap with water on cloths to avoid damage. Avoid harsh chemicals that can wear out surfaces. Clean moving parts gently to keep them running smooth. Regular cleaning keeps equipment hygienic and looking new.
Checking For Wear
Inspect cables, bolts, and grips for signs of wear weekly. Look for fraying, rust, or loose parts that may cause injury. Test moving parts to ensure they work without noise or stiffness. Replace worn components before they break. Early checks save money and prevent accidents.
Repairing Common Issues
Tighten loose bolts and screws to maintain stability. Lubricate joints and pulleys to reduce friction and noise. Replace worn cables and pads to keep equipment safe. Fix squeaks or sticking parts quickly to avoid bigger problems. Keep a small tool kit handy for quick repairs.
Frequently Asked Questions
What Materials Are Best For Building Gym Equipment?
Steel and hardwood are popular for durability and strength. Use high-quality bolts and welds for safety. Avoid cheap plastics to ensure long-lasting equipment.
How Much Does It Cost To Build Gym Equipment?
Costs vary by materials and design complexity. Basic equipment can cost $50-$200. Advanced machines may exceed $500 depending on parts and tools.
Can I Build Gym Equipment At Home Safely?
Yes, with proper tools and safety gear. Follow detailed plans and avoid shortcuts. Always test equipment before regular use to prevent injuries.
What Tools Are Essential For Gym Equipment Building?
Basic tools include drills, wrenches, saws, and welding machines. Measuring tapes and safety gear like gloves are also necessary. Proper tools ensure precise assembly.
Conclusion
Building gym equipment takes effort and patience. Start with simple tools and clear plans. Use quality materials to ensure safety and durability. Regular checks keep your equipment working well. Creating your own gym gear saves money and fits your needs.
Enjoy the process of making something useful with your hands. Stay consistent and learn from mistakes along the way. Your home gym will grow step by step. Keep pushing forward and stay motivated. The results will be worth your hard work.